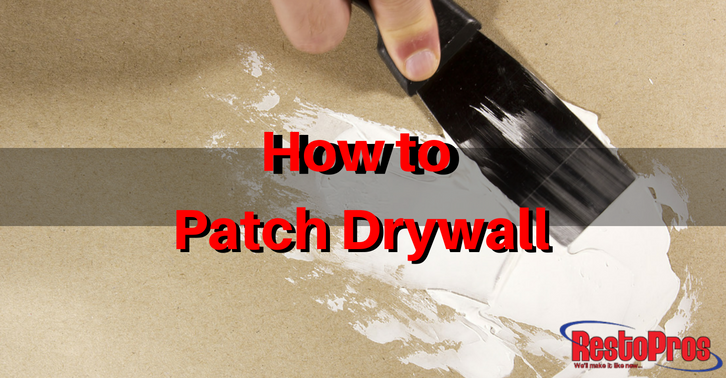
 Most of our homes are made from drywall. Whether you call it drywall, gypsum, or sheetrock, it all means roughly the same thing: Your wall. Drywall itself is typically made from calcium sulfate dehydrate (gypsum). The gypsum is pressed between two layers to hold it in place. Drywall allows the homeowner to hang walls in sections rather than having to carefully plaster the whole wall and wait for it to dry. Hanging drywall is faster and allows for easier patches and repairs if something happens. Wall damage is extremely common, and it’s not just water or smoke damage that can lead to a repair. A melted electrical outlet or a stray ball thrown in the house can damage drywall or punch a hole into the wall. Either way, if the damage is small enough, you can patch the problem yourself pretty simply.
Nail Holes or Dents
Small damage such as a leftover nail hole from a picture or decoration can be fixed simply.
- Place a small amount of spackle or putty can be placed over the hole.
- Smooth it out so it’s even and textured the same as the rest of the wall.
- Let the spackle dry for 24 hours.
- Paint over it.
Small Holes
For small-size holes, we recommend using a self-adhesive mesh patch. These patches are stuck in place over the hole and provide a framework for the covering to adhere to while you’re fixing the hole. You also won’t need to cut into the existing wall or match sizes too closely.
- Place adhesive patch over the hole.
- Use a drywall knife to cover the patch with joint compound. You want a thicker layer over the whole itself and a thinner layer closer to the edge to help smooth things out. Use a sharper angle on the knife as you apply the compound closer to the edges to apply less compound there.
- Let the compound dry.
- Apply a second coat, or use sand paper to smooth it out.
- Paint over the patch to match the wall.
Medium Holes
If you’re looking at a hole (or water damage) that’s larger than an inch but less than 6 inches, you can patch it by cutting out another piece of drywall to make the replacement.
- Cut out a new piece of drywall that’s 2 inches larger (on all sides) than the damage.
- Score (make a shallow cut) the back of the drywall about an inch in from each side.
- Snap off the extra gypsum but leave the paper backing intact. You should have a piece of drywall that’s about an inch larger (on each side) than the damaged section and has an extra inch of paper backing on one side.
- Trace the edge of the drywall piece (the gypsum, not the extra paper) over the part of the wall that’s damaged, be sure you’re covering all of the damage.
- Cut out the traced section of the wall. Be careful here, always turn off electrical power in the room and make sure you aren’t cutting through any wire before you begin.
- Apply joint compound to the back of the paper (the side the extra paper that will make contact with the wall).
- Fit the new drywall square into the hole left by the damaged square and press the paper edges against the existing wall.
- Cover the whole patch with joint compound.
- Allow the compound to dry, repeat with another coat and allow to dry. Sand the patch down until smooth and paint over it.
Final Notes
For larger holes (anything over 6 inches across), consult a professional if you want a clean wall patch. Don’t forget that matching paint is very difficult to do. Don’t just eyeball it and hope for the best. Get multiple paint samples and compare them under different light types (daylight, the lights you use at home, and a bulb with a different color temperature from what you use in the room if possible). If you have a can of the original paint, use that as a template if at all possible.
Don’t forget to follow RestoPros on Facebook, Twitter, LinkedIn, and Google+ for new Updates, News, and Discounts